 Photo: June 2005
A web page can be made as stylist as you like however they say a picture speaks a thousand words. Adding a picture to your content can enrich the point of the text , illustrate or explain a method or provide meaning to to text of the document. In short, words are nothing without pictures .
Photo: June 2005
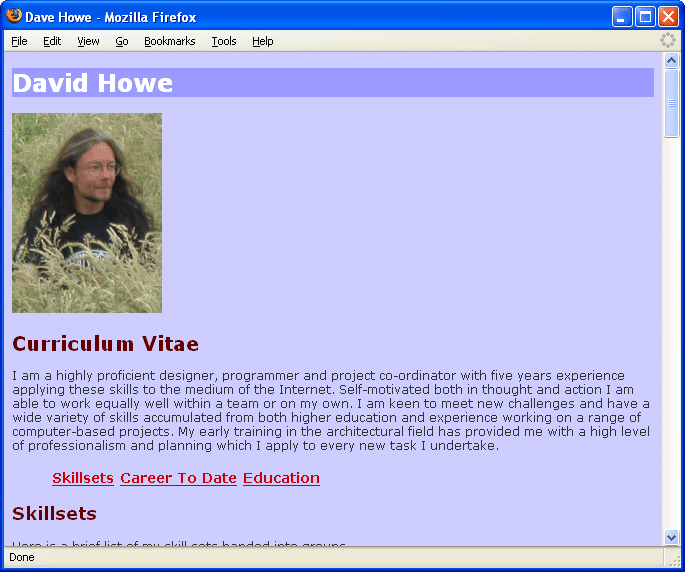
First off we'd better start with a picture to use for our example. Here is a picture of yours truly, don't laugh too much, I have to go through life lookng like that :)
You can only use certain types of image file in web ppages, these are mainly the .gif and .jpg images types although increasingly browsers will also display the .png graphic type as well. My image is a .jpg file called, unsuprisingly, dave.jpg, it is 150 pixels wide and 200 pixels high in size. For the purposes of this tutorial I have stored the image file alongside the index.html and style.css files. My web site now contains three files in total.
The XHTML tag for an image in a document is the <img> tag and it is quite unique in many ways as a tag. The image <img> tag has four basic atributes:
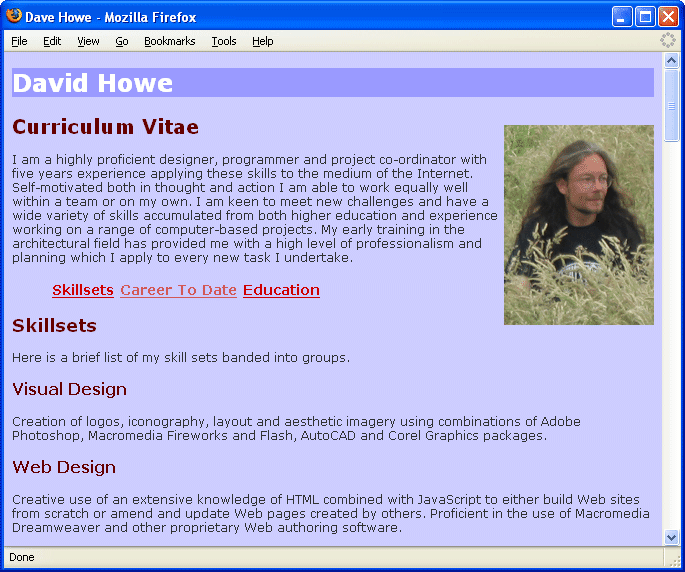
I would like the image to appear at the top of the document so the <img> tag will be placed after the pagebanner <h1> but before the main heading for the page content.
...<body> <h1 id="pagebanner" >David Howe</h1> <img src="dave.jpg" width="150" height="200" alt="Picture of Dave" /> <h1>Curriculum Vitae</h1> <p>I am a highly...
 Click here to see this example >>> Click here for the style sheet >>>
The width and height can be set to any values you like to stretch or change the shape of the image. However be wary of this as browsers normally make a pretty shoddy job of resizing an image and the result tends to look rather grainy and bitty. Wherever possible try to make sure your image is the size in pixels that you want it to appear in your web document.
This is all well and good but there is now an huge gap to the right of the image. There is nothing wrong with this but a document is always more cohesive when the text wraps around the images.
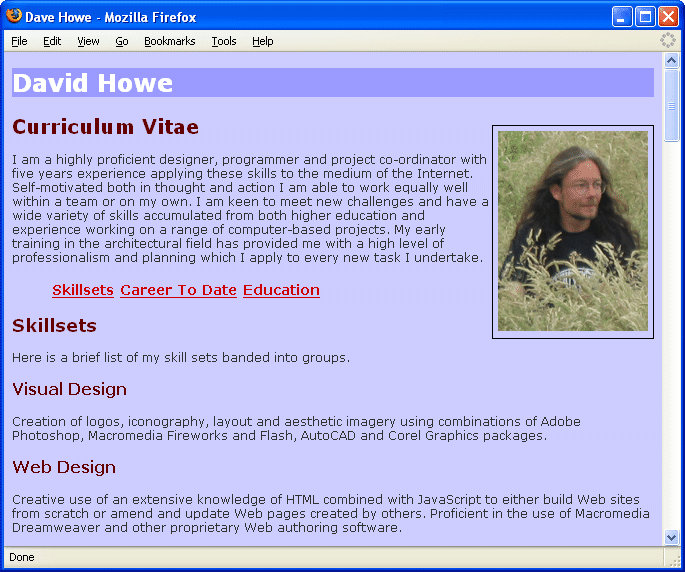
There are several ways of doing this. The method I prefer is to put the image in its own paragraph <p></p> element. To make it easy to create CSS declarations to make all images appear in the sme way in the document, give all the paragraphs that are used for this function the same class name. I use something descriptive like 'imageholder' as the name.
The paragraph tag acts as a holder for the image and optionally any text that may serve as a label for the image and although it has a class attribute value it will inherit the same style properties as all other <p> tags in the document as well as properties such as the block display type from the default style sheet.
Put the image tag inside a <p> </p> tag pair with the class attribute set to 'imageholder'
...<body> <h1 id="pagebanner" >David Howe</h1> <p class="imageholder"> <img src="dave.jpg" width="150" height="200" alt="Picture of Dave" /> </p> <h1>Curriculum Vitae</h1> <p>I am a highly...
Create the supporting class selector of the same value in the style.css style sheet, don't forget the preceding dot character to signify that the selector applies to classes of that value. The image is going to apprear on the right hand side of the page with the text to the left flowing (wrapping) around and underneath it. Positioning in this instance is done using the float property, add this property with a value of right to the class declaration block. We could equally use left to place the image on the left of the document with the text to the right.
.imageholder { float:right; }
 Click here to see this example >>> Click here for the style sheet >>>
To understand how the float property works you will first need to understand the concept of 'float' and how it works in the default style sheet. We read a page of a book or any other kind of text from left to right and down the page. The browser has to be able to display the content of the heading and paragraph tags to make the content make sense. By default the <body> tag is has a text-align property set to left and this makes all the tags align to the left of the screen and underneath each other in the order they appear in the source code giving the content a neat vertical left hand edge. When the initial <img> tag was added the block tags (described previously) inside the <body> all aligned left under one another and the image appeared between the two <h1> tags as it appeared in the code.
The float property is as the name suggests added to a declaration block to float the content it applies to in the same way a cork floats on water. The cork floats up because the water is pushing it up to its surface and fills in the space behind as it does so. Corks only float upwards as gravity and buoyancy always act vertically but gravity defying web documents act horizontally and the float property can have one of three values
The default style sheet in browsers does not hold any values for float for any tag type. Effectively the value of none is applied to all tags by default.
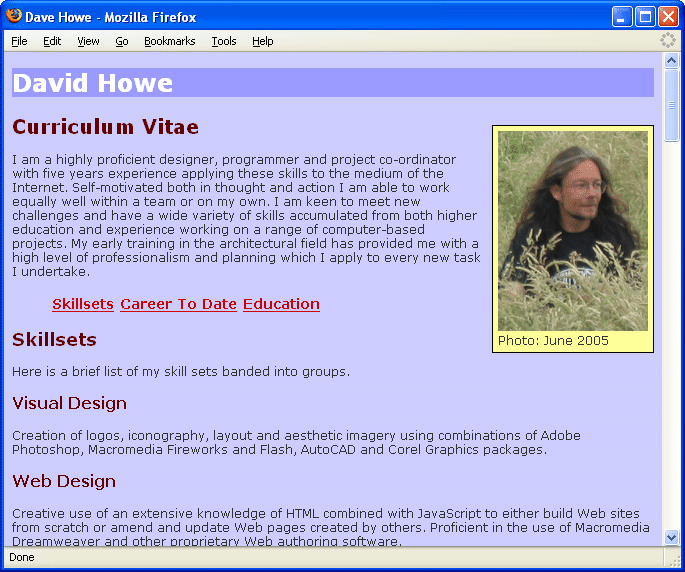
We ended the last section on a high note with a fancy trick, here is a fancy trick for giving your image a frame and a description label like the one at the top of this document and all the screenshot examples in the paper. The image is surrounded by a 1 pixel wide, solid line, black border to make a frame and has a 5 pixel gap between the frame and the image all the way round.
Just about any content tag can be given a border or a line around with the addition of the border property to the matching declaration block for any type, ID or class selectors. The border property is slightly more complex than the properties already covered as it takes three instructions, width of the line, type of line and colour of line separated by a space, width is measured in pixels (px) as it was for font-size and colour is a hexadecimal value preceded by the hash symbol as with all CSS colours.
The property values to set a border 1 pixel wide in a solid line and black in colour slot into place like this:
border:1px solid #000000;
The border is a line that runs around the edge of the HTML element and its content in a rectangle marking the boundaries of the screen space it occupies.
The linetype can be one of:
 Click here to see this example >>> Click here for the style sheet >>>
The gap between the edge of any element (in this case a <p> tag) and the content inside it (the <img> tag) is called padding and a CSS property of the same name is available to allow its control. The amount of padding is measured as a distance in pixels. To pad out all the tags in the document that have the class of imageholder by 5 pixels add padding:5px; to the class selector's declaration block along with the border properties.
.imageholder { border:1px solid #000000; float:right; padding:5px; }
The text butts right up to the border on the imageholder. Margins are like padding but are outside the border not inside it. Margins and padding are covered further in the next section so for the purposes of this tweak I will just explain that the margin of a tag is the space outside the edge of the tag where the border is. The padding property prodives a gap inside the border between the edge and the content. Margins provide a similar gap outside the border between the element and the surrounding content. To make a gap between the left hand edge of the imageholder and the text of the rest of the content add a value to the declaation block for margin-lef as follows, I have also added a background-color, the colour will show in the space between teh frame and the iamge made by the badding property.
.imageholder { background-color:#FFFF99; border:1px solid #000000; float:right; margin-left:10px; padding:5px; }
One last thing is to add the footnote under the image. The <img /> tag is an inline element so any text that comes after it will tend to shuffle up next to it pushing the box wider. To stop this and push the text underneath the image we need to add in a line break <br /> single empty tag after the image and before the text label.
...<h1 id="pagebanner">David Howe</h1> <p class="imageholder"> <img src="dave.jpg" width="150" height="200" alt="Picture of Dave" /> <br /> Photo: June 2005</p> <h1>Curriculum Vitae</h1>...
 Click here to see this example >>> Click here for the style sheet >>>
The <br /> tag acts as a carriage return in the browser space. It isn't truly semantically harmonious as a line break doesn't mean anything to anything that reads the information and doesn't display it ona screen. Generally I don't endorse the use of <br /> tags for this reason. However a little naughtiness never hurt anyone and it makes for a nice effect for little semantic sacrifice. Design, as arty types will tell you, is about compromise. That is my excuse and I 'm sticking to it.
The final result is a page where any picture you add, provided it is held inside a <p></p> tag that has the class attribute set to the value 'imageholder', will be displayed in the same consistent framed and presented way with a baroder and background. Optionally if you add a line break into the code and thensome footnote text, this will appear underneath the image. If the text came first, then the <br /> tag and then the <img>, the label would sit above the image.
We have started to take control of the display fo the document in the browser window, we grabbed the image, wrapped it in a frame and pushed it to the right ahnd side of the page. CSS can do a lot more and can be used agressively to force the layout of very simple XHTML into all kinds of shapes in the browser window while keeping the semantic meaning of the raw source without the browser's CSS added.
Click here to learn how to force the layout of your content in the browser window >>>
